



Installation Guide: Tesla Screen Pajero 4 (2006-2024)
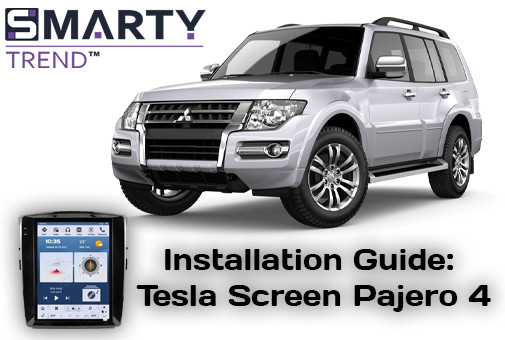
Step-by-step guide to installing a Tesla Android screen in Pajero 4 (2006-2024). Complete board transfer instructions & Rockford system support.
Installing a Tesla-style Android Head Unit in Mitsubishi Pajero 4 (Wagon): Complete Guide + On-Board Computer Board Transfer
IMPORTANT: SAFETY FIRST
Before starting any installation work, disconnect the negative (-) battery terminal! This will prevent short circuits, Airbag SRS errors, and damage to factory CAN-bus control units. All work is performed using "Pin-to-Pin" technology, fully preserving the vehicle's factory warranty.
Introduction and Technical Overview
Installing a vertical factory head unit in the Tesla (Vertical Screen) style on Mitsubishi Pajero 4 / Pajero Wagon / Montero 4 (2006-2020) is the best way to upgrade the interior. SMARTY Trend systems combine the trip computer, QLED multimedia, navigation, and climate control management on a single high-definition wide IPS/QLED screen.
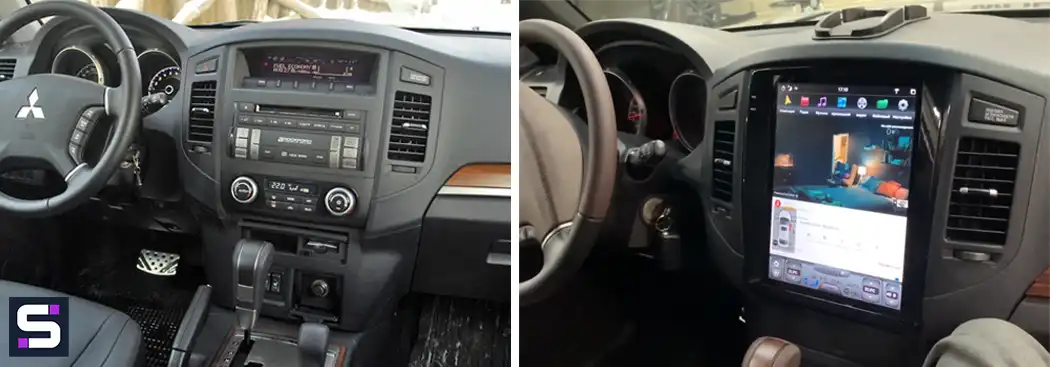
A specific feature of the installation on Pajero 4 models equipped with the Rockford Fosgate audio system and top trip computer is the need to carefully transfer the original green circuit board of the top display into a special niche on the back side of the new head unit.
Technical Specifications and Compatibility
| Car Function | Status After Installation | Connection Details / Setup |
|---|---|---|
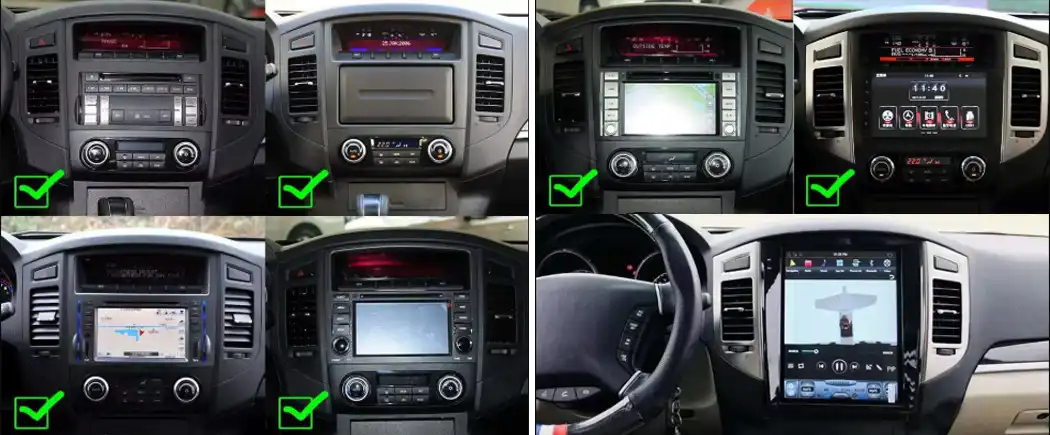
| Steering Wheel Controls (SWC) | ✔ 100% Supported | Handled via the CAN-Bus module |
| Rockford Fosgate Amplifier | ✔ Full Support | Turn-on via CAN, balance and subwoofer adjustments |
| Trip Computer | ✔ Fully Retained | Transfer of the original green display circuit board |
| Climate Control | ✔ Display and Control | Data synchronization via CAN-bus |
| Factory Rearview Camera | ✔ Supported | Connection via RCA adapter with a 6V/12V step-down converter |
| GPS / GLONASS / Beidou | ✔ Dual-mode Module | External high-sensitivity antenna |
Required Tools
- Plastic pry tools (trim removal tools) for careful disassembly of trim panels and air vents.
- Phillips screwdriver PH1 / PH2.
- Precision screwdriver PH0 / PH00 (for disassembling the factory trip computer).
- Textile anti-squeak tape for wiring harness bundling.
- Protective cover for the automatic gear lever.
Step-by-Step Installation Guide
Step 1: Disassembling the Factory Console
- Use a plastic pry tool to unclip the bottom edge of the left and right silver air vents. Unsnap the clips from bottom to top.
- Remove the climate control panel and disconnect the OEM connectors.
- Unscrew the mounting screws of the factory radio and the top trip computer display. Remove both units.
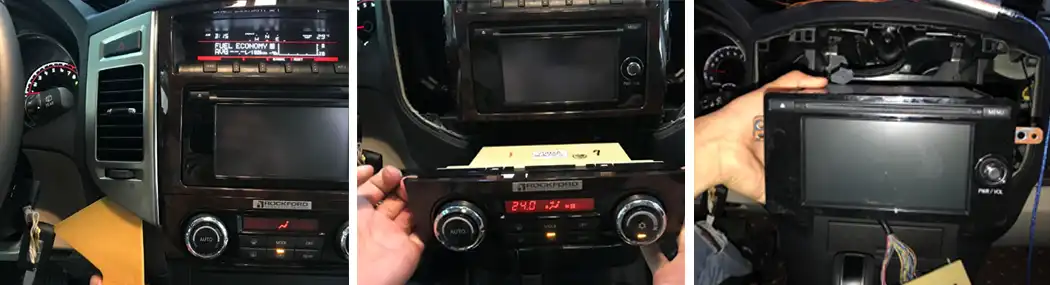
Step 2: Transferring the Green Trip Computer Board
- Place the removed factory display face-down on a soft cloth. Remove the screws along the perimeter of the casing.
- Carefully disconnect the flexible ribbon cable going from the LCD screen to the green circuit board.
- Unscrew the securing screws and extract the board.
- Install it into the specialized housing with metal standoffs on the back panel of the new SMARTY Trend Android head unit.
- Secure the board with the original screws and connect the included adapter ribbon cable.
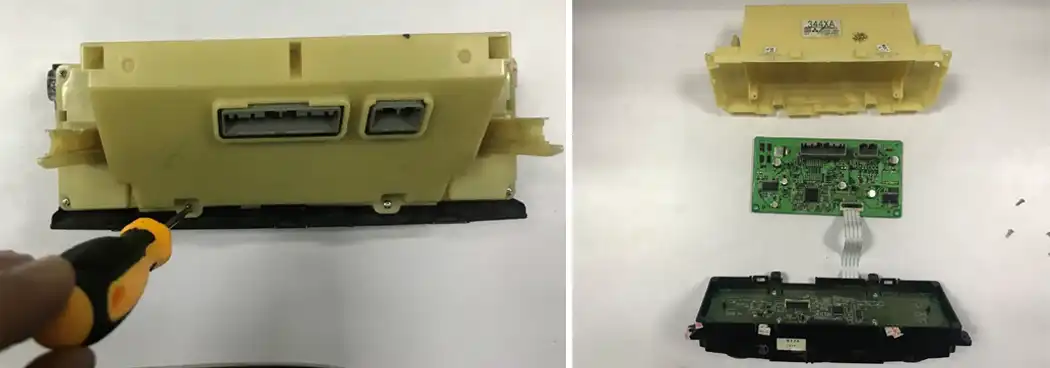
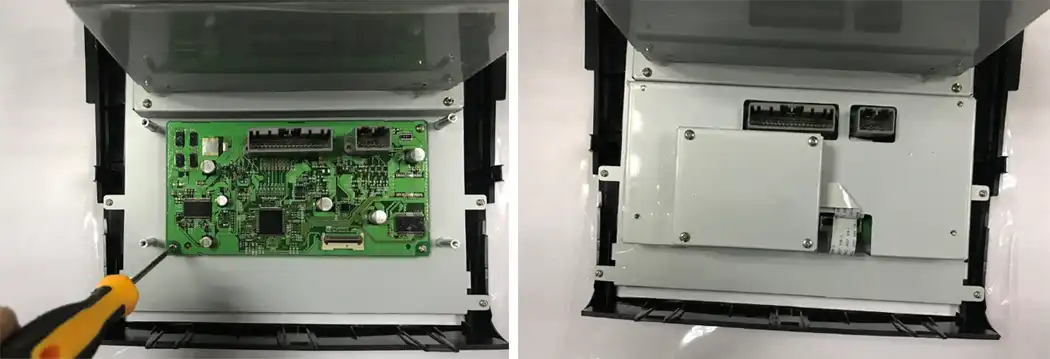
Step 3: Wiring and CAN-Bus Configuration
Connect the main "Pin-to-Pin" power harness. Attach the supplied CAN decoder to integrate the head unit with the vehicle's onboard electronics.
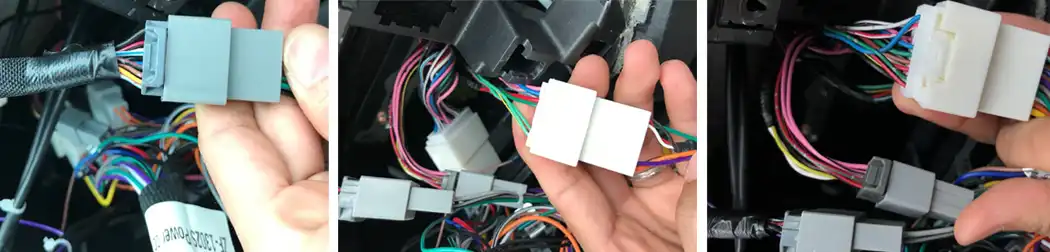
Frequently Asked Questions (FAQ)
Will the OEM Rockford Fosgate amplifier remain operational?
Yes, thanks to the CAN-Bus decoder, the turn-on signal and sound control parameters are fully transmitted to the amplifier. The integrated DSP processor of the SMARTY Trend unit also allows fine-tuning delay settings and graphic EQ.
Why is it necessary to transfer the original trip computer board?
In the Mitsubishi Pajero 4, this specific circuit board processes fuel consumption readings, cruising range, ambient temperature, and barometric pressure data. Relocating the board into the Tesla unit chassis maintains 100% of this functionality.


| Operation system: | Android 11 R |
| Display: | 12.1 inches IPS |
| Resolution: | HD Vertical (1280x720 px) |
| Processor: | 2.0 GHz Octa-Core (Snapdragon 665) |
| RAM + SSD: | 4+64 / 8+128 Gb |
| Car link: | Wireless Apple CarPlay & Android Auto |
| Free gift: | DVR with ADAS / TPMS / HD Rear Camera |
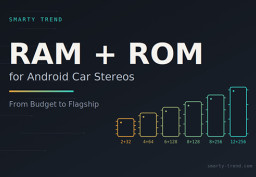
How to Choose RAM and ROM for an Android Car Stereo: 4+64, 6+128,...
CarPlay vs Android Auto in 2026: Which One to Choose For Your Phone...
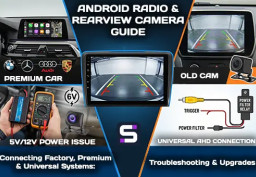
Guide to Integrating Rearview Cameras and 360° Systems with Modern...

Smarty Trend: Best Android Head Unit with CarPlay & Android Auto

Mitsubishi Pajero Wagon (2006-2021) installed Android Tesla head unit
 EN
EN DE
DE
 ES
ES
 FR
FR
 IT
IT
 NL
NL
 PL
PL
 PT
PT
 RU
RU
 WhatsApp