




How to Connect and Configure Steering Wheel Buttons on a SMARTY Trend Android Unit (UIS7862S & UIS7870SC)
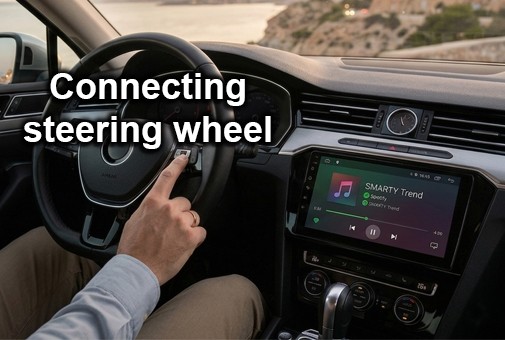
Master your SMARTY Trend infotainment directly from the steering wheel. We show you how to wire and program buttons for UIS7862S & UIS7870SC chipsets.
How to Connect and Configure Steering Wheel Buttons on a SMARTY Trend Android Unit (UIS7862S & UIS7870SC)
Driving comfort and safety depend on how easily you can control your multimedia without taking your eyes off the road. When upgrading to a premium SMARTY Trend system, maintaining your factory steering wheel controls is essential.
In this guide, we’ll break down how to hardware-wire and software-configure your buttons for the two most powerful platforms of 2026: UIS7862S and UIS7870SC.
1. Physical Wiring: The "Key 1" Connection
Before moving to the settings, you must ensure the unit is physically receiving signals from the car. Depending on your vehicle type, there are two ways to connect:
Analog Connection (For older or non-CAN-bus cars)
If your car uses analog signals, you must use the specialized "Key" wires on the ISO harness.
-
Locate the wires: Find the KEY1 (sometimes labeled KEY1 or KEY2) and KEY GND wires on the back of your SMARTY Trend unit.
-
Wiring: Connect the KEY1 wire of the radio to the steering wheel's signal wire. Connect the GND (Ground) wire of the radio to the common ground wire of the steering wheel buttons.
-
Note: Some cars may also require a KEY2 connection for additional buttons.

Digital Connection (For modern cars with CAN-bus)
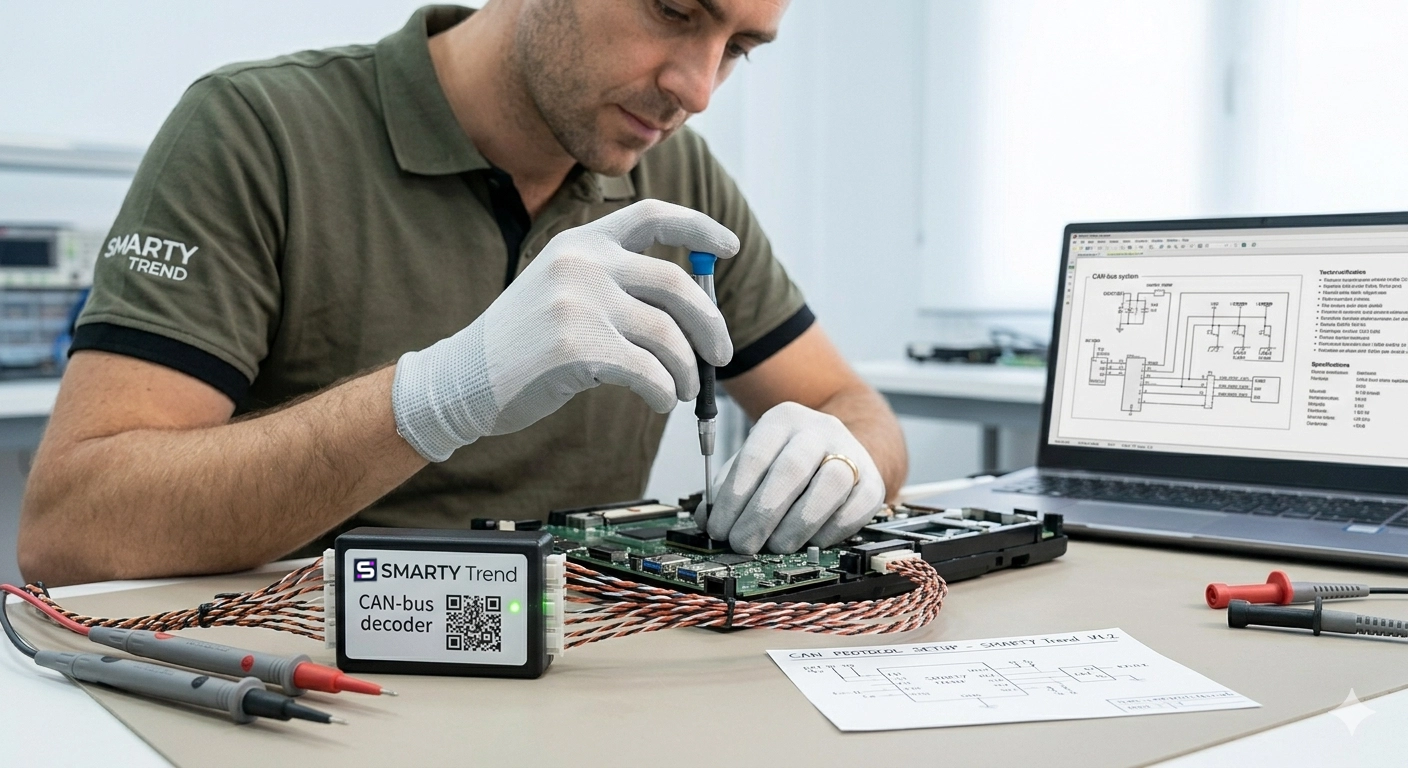
If your car is modern (Volkswagen, BMW, Toyota, etc.), you likely won't need the Key wires. Instead, the connection is handled via a CAN-bus decoder. Simply plug the decoder into the designated port on the SMARTY Trend harness, and the system will translate digital signals into commands.
2. Software Configuration: UIS7862S (Version 2.0)
The UIS7862S chipset is a favorite for its speed and reliability. Once the wiring is done, you need to "teach" the unit.
Instructions:
-
Go to Settings -> Car Settings.
-
Select Steering Wheel Learning (or "SWC").
-
Tap Reset to clear old values.
-
The Process: Press a physical button on your steering wheel (e.g., "Volume +"), then tap the corresponding icon on the radio screen.
-
Repeat for all buttons and tap Save.
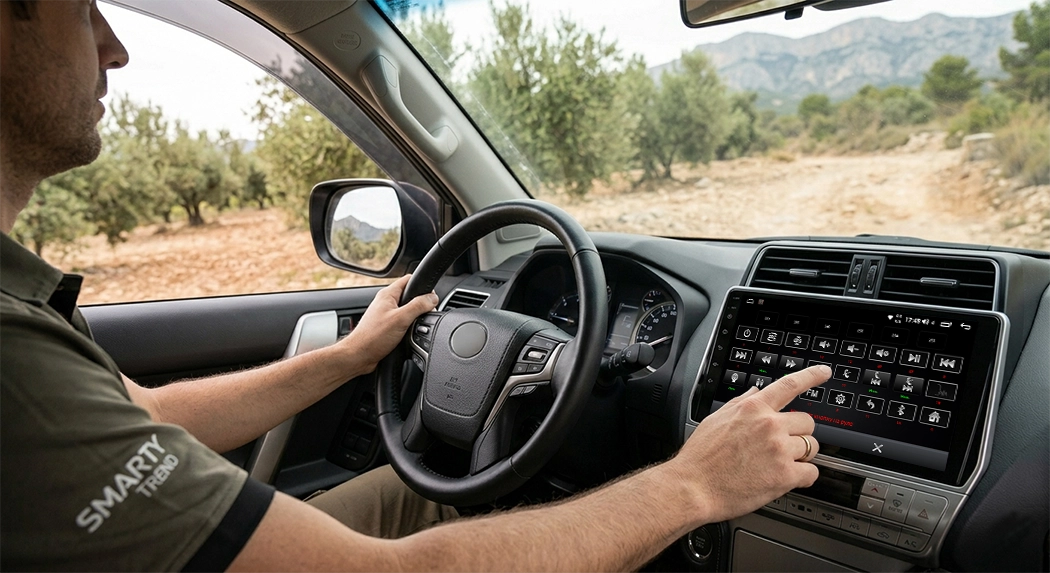
Side Panel Setup: If your unit has touch buttons on the side, they can be remapped in the same menu. Watch these video guides for a visual walkthrough:
-
Setting up the steering wheel buttons on a Smarty Trend radio
-
Customizing the Sidebar Buttons
3. Advanced Setup: UIS7870SC (Version 2.7)
The flagship UIS7870SC offers even deeper integration.
-
CAN-bus Protocol: Ensure the correct CAN-bus protocol is selected in the "Factory Settings" for your specific car model.
-
Learning: Hold the steering wheel button until the screen confirms the signal.
Pro Tip: Disabling the "Touch Assistant"
If you find the floating "Touch Assistant" button annoying, you can turn it off:
-
Go to Settings -> System.
-
Find Touch Assistant and toggle it to Off.
-
Step-by-step SWC configuration UIS7870SC
-
How to disable the floating button
Why Choose SMARTY Trend?
Unlike cheap generic radios, SMARTY Trend units are designed for perfect integration:
-
Dual-Action Support: Set different functions for short and long presses.
-
Reliability: Built-in protection for analog "Key" circuits.
-
Authenticity: Only buy from official sources like
Smarty-trend.com to ensure you get the correct wiring harness and CAN-bus decoder for your vehicle.
Summary
Setting up your steering wheel buttons takes less than 10 minutes. By following this guide, you ensure that your SMARTY Trend unit becomes a natural extension of your car. If buttons still don't respond, verify the KEY1 physical connection or check your CAN-bus settings.

The Evolution of Comfort: How to Choose a Premium Android System...

Android Head Unit vs. Factory Radio: Is It Worth Upgrading in 2026?

Best Android Head Units 2026: Top Car Stereo Upgrade Guide

Support for factory amplifier operation in SMARTY Trend car radios

Perfect Installation of Android Car Stereos: Simple and Reliable...
 EN
EN DE
DE
 ES
ES
 FR
FR
 IT
IT
 NL
NL
 PL
PL
 PT
PT
 RU
RU